


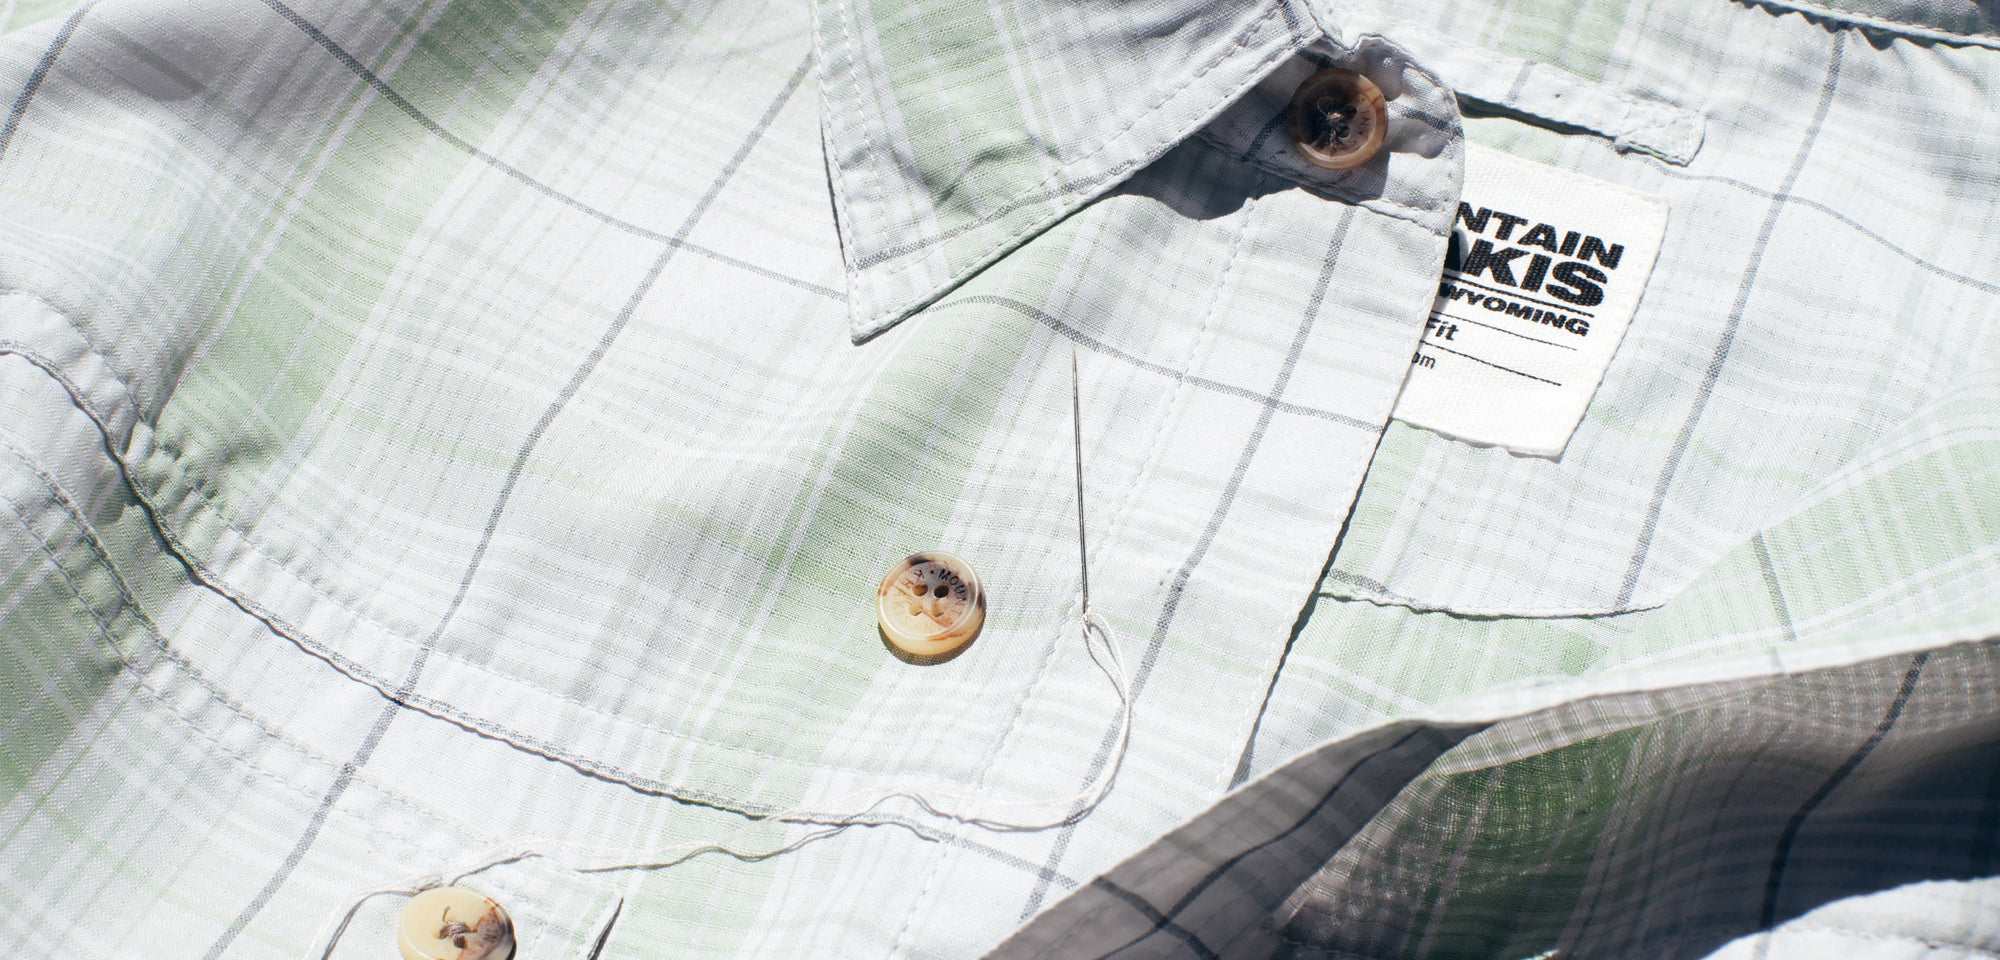
As a child I was given a needle, some thread, and scrap fabric from my grandmother’s quilt project to pass the time. Twenty years later I am still fascinated with textiles and I’ve made fashion my career. But what if you have never sewn a single stitch, let alone mended a garment, and your favorite shirt is missing a button? No problem! In this post we’ll be showing you just how easy it can be to make small repairs at home to your most beloved garments. Grab a few supplies and follow these quick steps for your shirt to be as good as new.
Supplies needed:
- Thread - at least 24 inches of thread in your preferred color
- Cutting tool - sharp knife or scissors
- Button - the original if possible or a look-a-like button
- Needle - thin hand sewing needle

Step 1: Thread your needle by taking one edge of your thread through the eye of the needle, then doubling your thread to tie a knot at the end of both threads
Step 2: Place the needle through one buttonhole and bring down to fabric
Step 3: Bring your thread through the hole to the right of your first stitch with the needle and bring through the fabric
Step 4: Next, bring your needle to the upper left hole and stitch back through to the upper right hole, making sure to keep your stitches loose
Repeat steps 3 and 4 until button seems secure (about 2 to 3 times)
Step 5: When button is secure with your needle sandwiched between your button and fabric, wind the thread at the base 6 times
Step 6: Take your needle through the base where you wrapped your thread 3 times and add a simple knot for good measure, then cut your thread close to the base
A missing button is no longer a reason for your garments to sit in the closet. Now celebrate your new skill and a job well done with some new khakis to match your most loved shirt – you have earned it!
Leave a comment